This is the secret to getting the video to accurately fit your house! It is not as difficult as you might think. It just requires a computer, your projector and some simple drawing software.
- Set up your projector in the location where you plan to do all of your projecting on the house. Connect your computer and project your desktop onto your house. Make sure the projector is as close to the house as possible while still getting the coverage you want. That will give you the brightest and sharpest image.
- Check Screen Resolution and Aspect Ratio Set your computer’s screen resolution to 1920 x 1080, which is the same size as the videos we create for you. If your computer doesn’t have that resolution available, choose 1366 x 768 or 1280 x 720 instead. Those will work equally well. Check your projector’s aspect ratio setting and make sure it is set to 16:9. (Important Note: Check these AFTER your computer is connected to your projector. If you have to unplug for any reason, check again AFTER reconnecting. Simply connecting the computer to the projector can change these settings without you knowing.)
- Mark the location Once you get the projector positioned, make sure you mark the location so that you can set it up in the exact same place every time. Some painters tape might work. I use a little spray paint on the concrete.
- Download and install our free mapping software You can download it here. Once installed, launch the program.
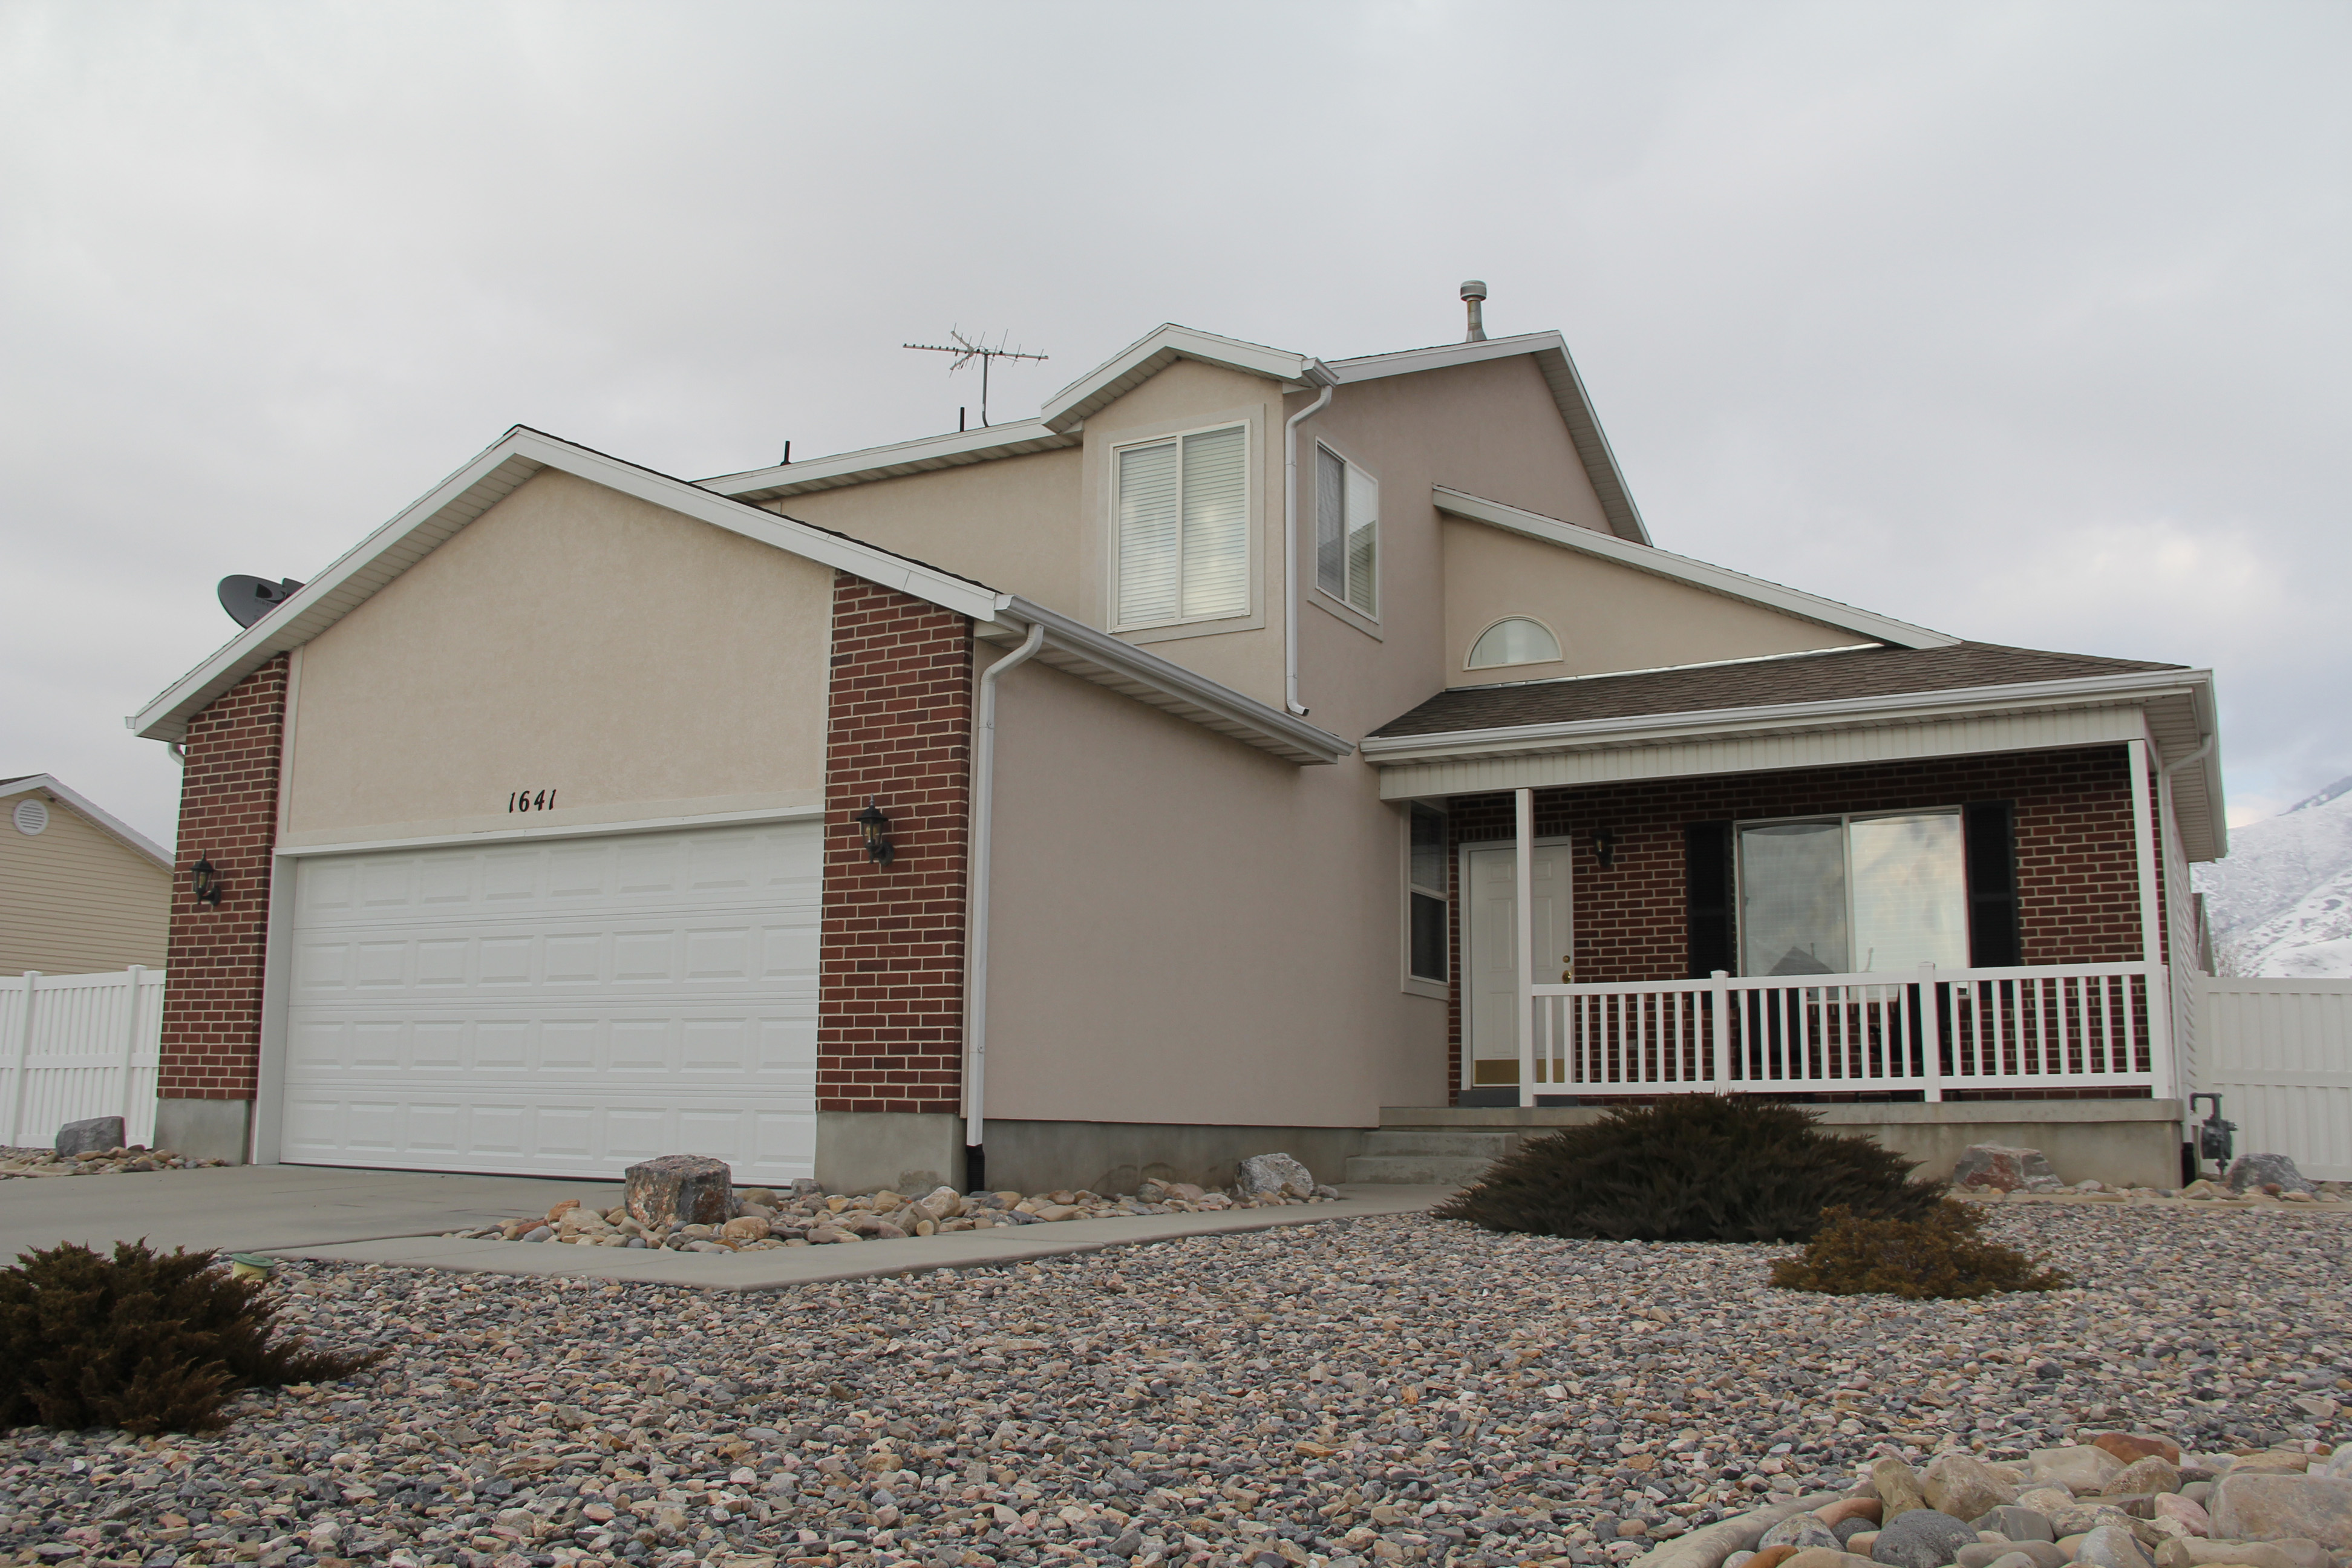
- Now look at your house and start drawing, tracing the lines of your house. You don’t need to get too detailed. Just trace the parts that you think will be useful in identifying segments where you want video. You really don’t need to spend time tracing your doorknob or the garden hose, etc. Below is a picture of my house compared with my drawn outline.
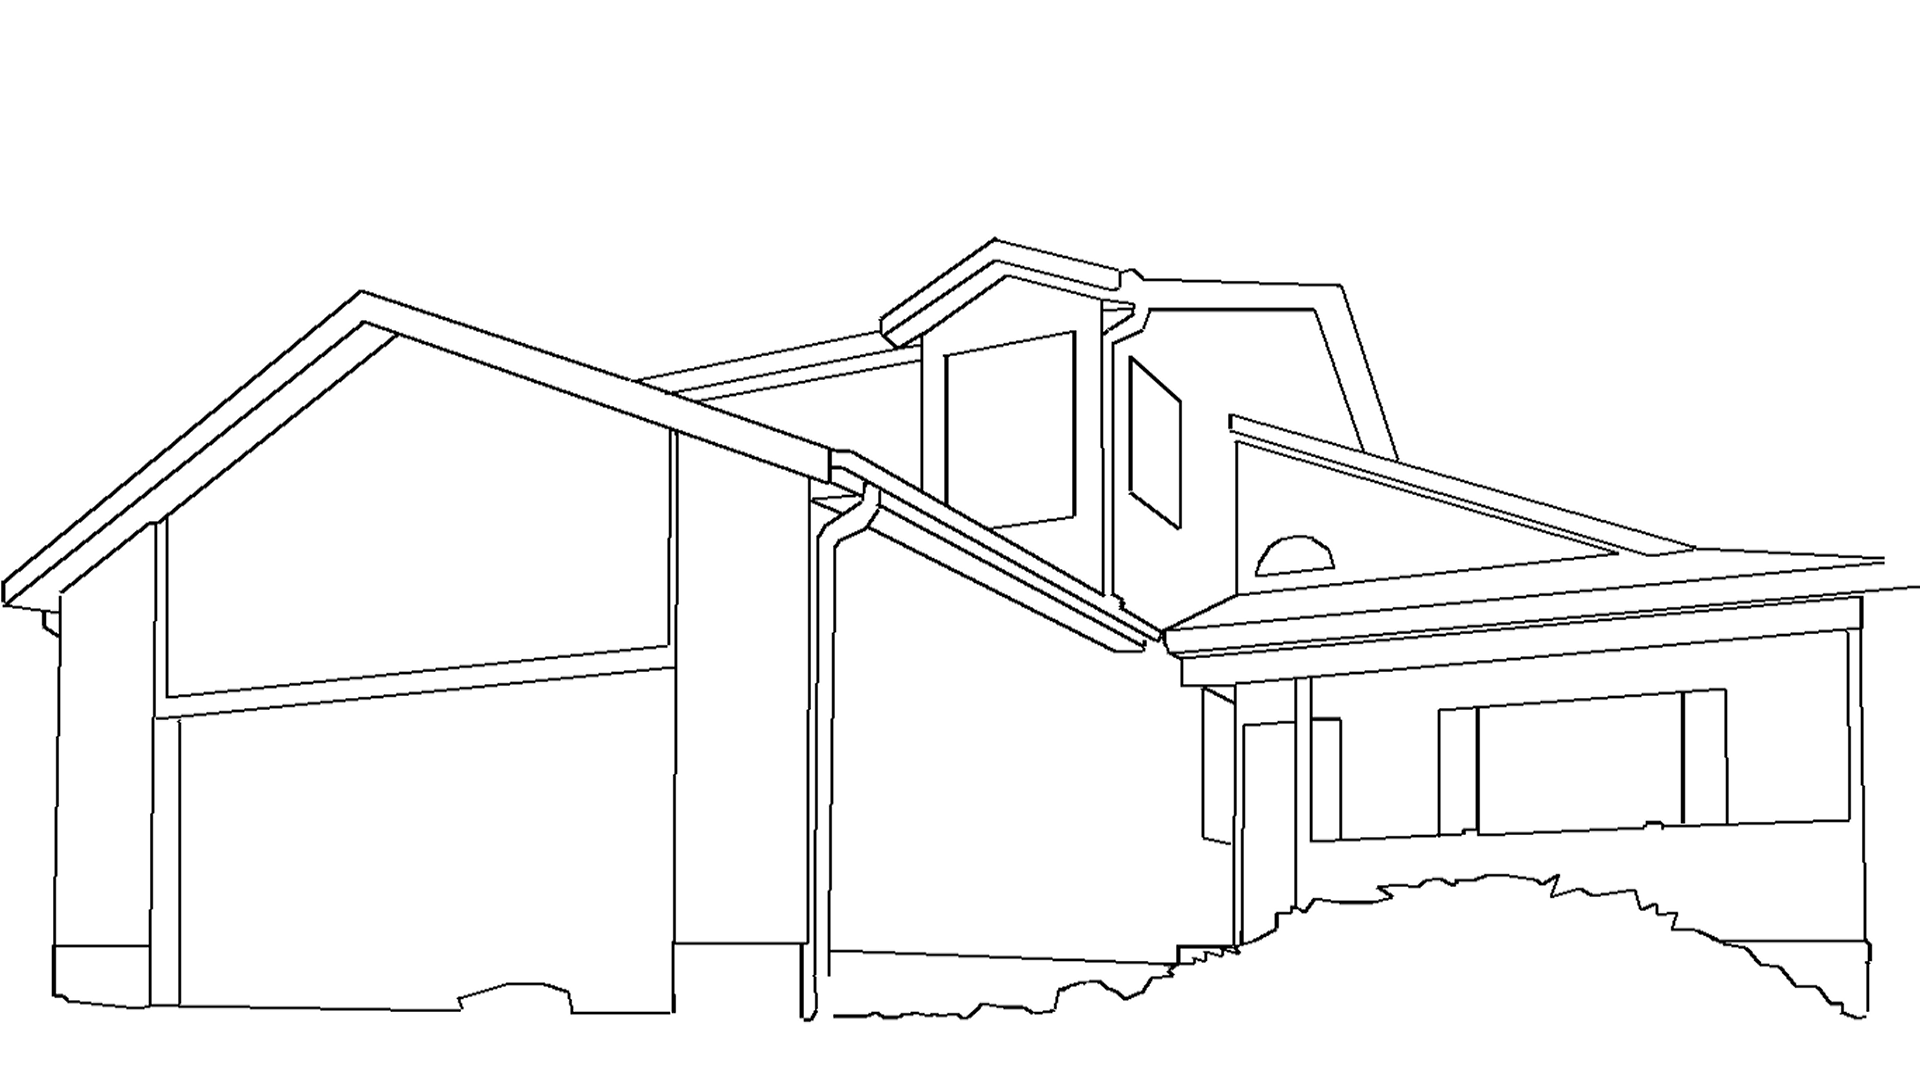
- Save the image of the outline and then email it to us as an attachment along with a photo of your house so we can see what it looks like.